
前回は Hyper-V で作成した仮想マシンの中に、さらに Hyper-V で仮想マシンを作る話を書きました。
今回は Docker Desktop を Hyper-V の仮想マシンにインストールして使ってみようと思います。 私の使い方だと、この構成ができると大変うれしいです。
環境
- ホストマシン
- Windows 11 Pro 21H2
- Ryzen 9 5900X
- Hyper-V のゲストマシン
- Windows 11 Pro 21H2
- Hyper-V の構成バージョン 10.0
- ゲストマシン上の Docker
- Docket Desktop 4.6.1
- Docket Image : https://hub.docker.com/_/hello-world
Hyper-V 上にゲストマシンを作成
ホストマシン上で Hyper-V を有効にして、普通にインストールします。 ただし、 Ryzen CPU の場合「入れ子になった仮想化」を行うためにはホストマシンの OS が Windows 11 または Windows Server 2022 以降であることが必須要件です。 また仮想マシンとして Windows 11 を実行するためには、Hyper-V 上で TPM を有効にしなければなりません。
ゲストマシンに Docker Desktop を入れる(この段階ではできない)
とりあえず何も設定せずに Docker Desktop をインストールしてみましょう。 途中 WSL2 の有効化など、いくつか設定変更を求められるので指示に従って設定していきましょう。 インストールと設定が終わってから、 Docker Desktop を起動すると、以下のようなエラーが発生します。

「仮想マシンプラットフォーム機能」を有効にしていても、このエラーが発生してしまいます。
ホストマシン上で「入れ子になった仮想化」を有効にする
作成したHyper-V 上のゲストマシンに対して、入れ子になった仮想化ができるよう構成します。 設定は PowerShell で実行します。
まずはHyper-V 上のゲストマシンをシャットダウンしましょう。 そしてホストマシンのPowerShell を管理者権限で立ち上げて、以下の通りコマンドを実行しましょう。
Set-VMProcessor -VMName <Hyper-Vマネージャーで見れるVMの名前> -ExposeVirtualizationExtensions $true
これで入れ子になった仮想化が有効になります。
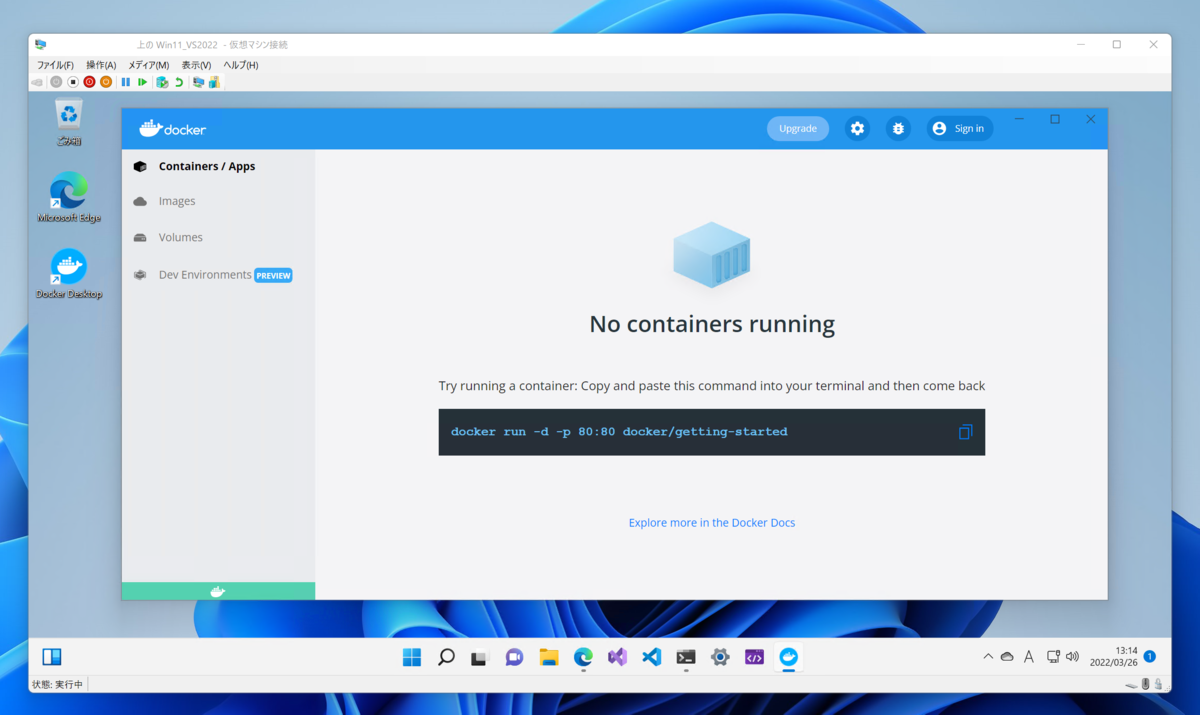
再度 Hyper-V 上のゲストマシンで Docker Desktop を起動する
ゲストマシンを再起動して、インストールしておいた Docker Desktop を再度起動してみましょう。 正常に Docker Desktop を起動できました。
Hello World を実行してみる
Docker Desktop が実行できることは確認できたので、実際にコンテナーを動かしてみます。 今回は Docker Hub にある Hello World のイメージを使って、コンテナーが動くことを確認してみます。
https://hub.docker.com/_/hello-world
コマンドプロンプトから docker コマンドを使って、イメージの Pull と実行を行ってみます。
c:\>docker pull hello-world
Using default tag: latest
latest: Pulling from library/hello-world
2db29710123e: Pull complete
Digest: sha256:bfea6278a0a267fad2634554f4f0c6f31981eea41c553fdf5a83e95a41d40c38
Status: Downloaded newer image for hello-world:latest
docker.io/library/hello-world:latest

c:\>docker run hello-world

Hello from Docker!
This message shows that your installation appears to be working correctly.

To generate this message, Docker took the following steps:
 1. The Docker client contacted the Docker daemon.
 2. The Docker daemon pulled the "hello-world" image from the Docker Hub.
    (amd64)
 3. The Docker daemon created a new container from that image which runs the
    executable that produces the output you are currently reading.
 4. The Docker daemon streamed that output to the Docker client, which sent it
    to your terminal.

To try something more ambitious, you can run an Ubuntu container with:
 $ docker run -it ubuntu bash

Share images, automate workflows, and more with a free Docker ID:
 https://hub.docker.com/

For more examples and ideas, visit:
 https://docs.docker.com/get-started/
正常にコンテナーが実行できている様子を確認できました。
まとめ
今回簡単に動作確認した範囲では、問題なく Docker Desktop を用いてコンテナーを稼働することができました。 これをもって正常に使える、とは言いにくいところがありますが、初めの一歩はクリアできたのかな、という印象です。 もう少し使い込んでみて、何か問題がないか確認していければと思います。